Xapsys CRM is an online Customer relationship manager. Xapsys CRM allows you to hold Customer data and allow you to record contact and history between you and your clients.
This will include opportunities of business, notes on the customer or opportunity and also create orders based on those opportunities.
Xapsys CRM holds customer account details and products, so you are able to access and create orders on the fly, anywhere anytime. You don’t need to log on to Sage 200 and take up a licence anymore. Streamlining the sales process and freeing up time and labour so your team can do what they do best, generating revenue for your business.
What data is synchronised?
Xapsys CRM integrates with your chosen ERP System. This can be Sage 200, Sage 50, Xero or even a standalone System where just Xapsys CRM is being used.
The data that is brought across from Sage 200 (and Sage 50 if relevant) are Warehouses, Tax Rates, Product Groups, Stock items with the prices and linked warehouses, Currencies, Pricebands, Countries, Additional Charges Codes and companies.
In exchange the data that is sent back into Sage are updated Companies, Stock items which have been created on the fly, newly created Pro-formas and Orders.
Installation
Sage 200
Please run the Xapsys CRM Sage 200 installer file
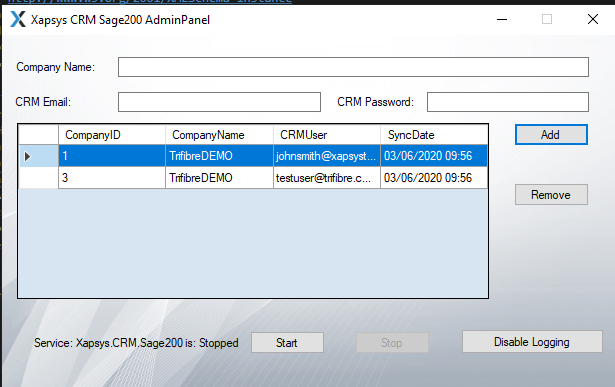
Once installed please run the file Xapsys.CRM.AdminPanel.exe in C:\Program Files (x86)\Xapsys\Xapsys.CRM.Sage200.
In order to set this up you will need to fill in the fields below.
CompanyName: This will be the Sage 200 Company. The name must be exact.
CRM Email: This will be the login details for Xapsys CRM.
CRM Password: Same as above
Once you are ready click add.
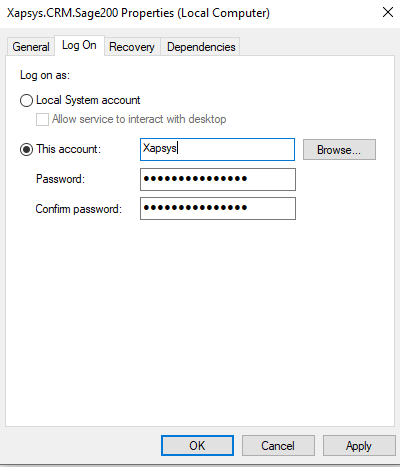
We will also need to change the user for the service to an account that Sage can login with. Go Run > Services.msc > find the Service called Xapsys.CRM.Sage200 right click properties
And click on the Log on tab and fill in the details for This Account.
Once you are ready click apply and start the service.
The initial sync of a company to CRM will take a long time as there will be many records to sync across but any further syncs should takes only a few seconds.
The Sage 200 user will also require permissions to Create SOP orders and companies. They will also need to enable the ability to override prices on Order lines
Got any issues? Feel free to contact us. We will ask you to upload the log files which are located in the following directory C:\Program Files (x86)\Xapsys\Xapsys.CRM.Sage200\logs
To Uninstall Please run the Exe file and follow the steps to remove Xapsys CRM Sage200, Once done remove any files in C:\Program Files (x86)\Xapsys\Xapsys.CRM.Sage200
Sage 50
Please run the Xapsys CRM Sage 50 installer file
Warning
Xapsys CRM is only compatible with the Professional Edition of Sage 50 Accounts
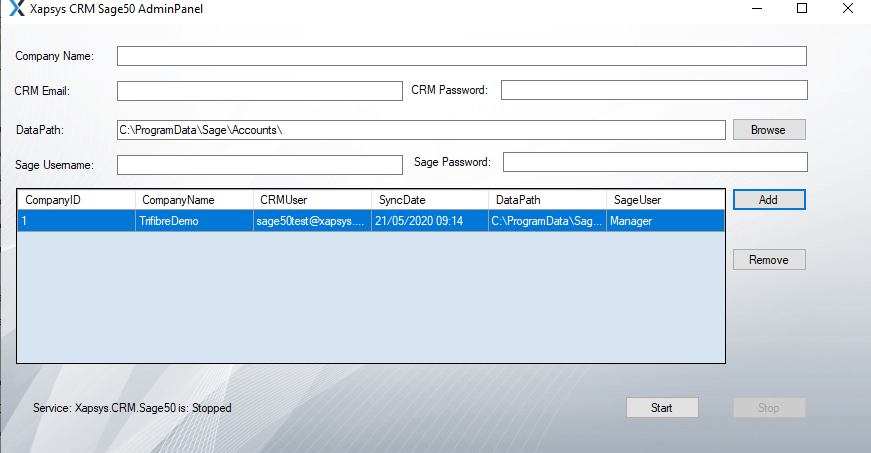
Once it has been installed please run the exe file named Xapsys.CRM.AdminPanel.Sage50.exe in the folder C:\Program Files (x86)\Xapsys\Xapsys.CRM.Sage50
This should bring up a panel.
Make sure the service is not running. Please input the details.
In order to set this up you will need to fill in the fields below.
CompanyName: This is the name of the Sage Company. (This is can be anything you want to named but its best for debugging purposes to be the Sage company name)
CRM Email: This will be the login details for Xapsys CRM.
CRM Password: Same as above
DataPath: This would need to be a path to the ACCDATA for your Sage Install. This would be something along the Lines of C:\ProgramData\Sage\Accounts\2020\COMPANY.000\ACCDATA
Sage Username: This would be the dedicated user to connect to Sage 50
Sage Password: Same as above
You will need to have a dedicated user for this to work. The service will log on to the Sage system using the user details provided. You cannot logon to the system with that user while the service is running.
Once you are ready click Add and it should show up on the bottom like below.
And once ready click Start and the Service should start running.
Got any issues? Feel free to contact us. We will ask you to upload the log files which are located in the following directory C:\Program Files (x86)\Xapsys\Xapsys.CRM.Sage50\logs
To Uninstall Please run the Exe file and follow the steps to remove Xapsys CRM Sage50, Once done remove any files in C:\Program Files (x86)\Xapsys\Xapsys.CRM.Sage50
Xero
Getting your CRM data from Xero is quite simple.
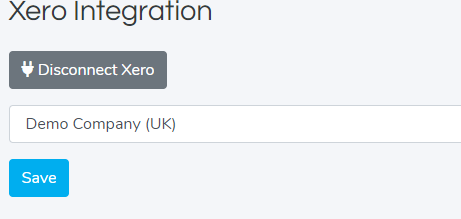
All you will need to do is connect the App to Xero. To do this click on Settings > Xero and click the Connect to Xero button. You will then need to sign in and select the organization.
You will then be directed back to the settings page and you will need to select the organization selected in CRM.
Once this is done, Please contact us so we can setup the background syncer.
Got any issues? Feel free to contact us. We will investigate the issues.
To disconnect, just click the Settings > Xero > Disconnect button
Companies
This section of Xapsys CRM will hold the Customer account details. This will hold records from Sage 200 or Sage 50. The section will show Customer accounts which have been customers and suppliers (Planned feature). In addition to this Xapsys CRM will also hold the possible prospects for customers which your team has been in contact with in the past or currently. (This will convert into a Customer once they have placed an order, thereafter inputting the details into the ERP System.)
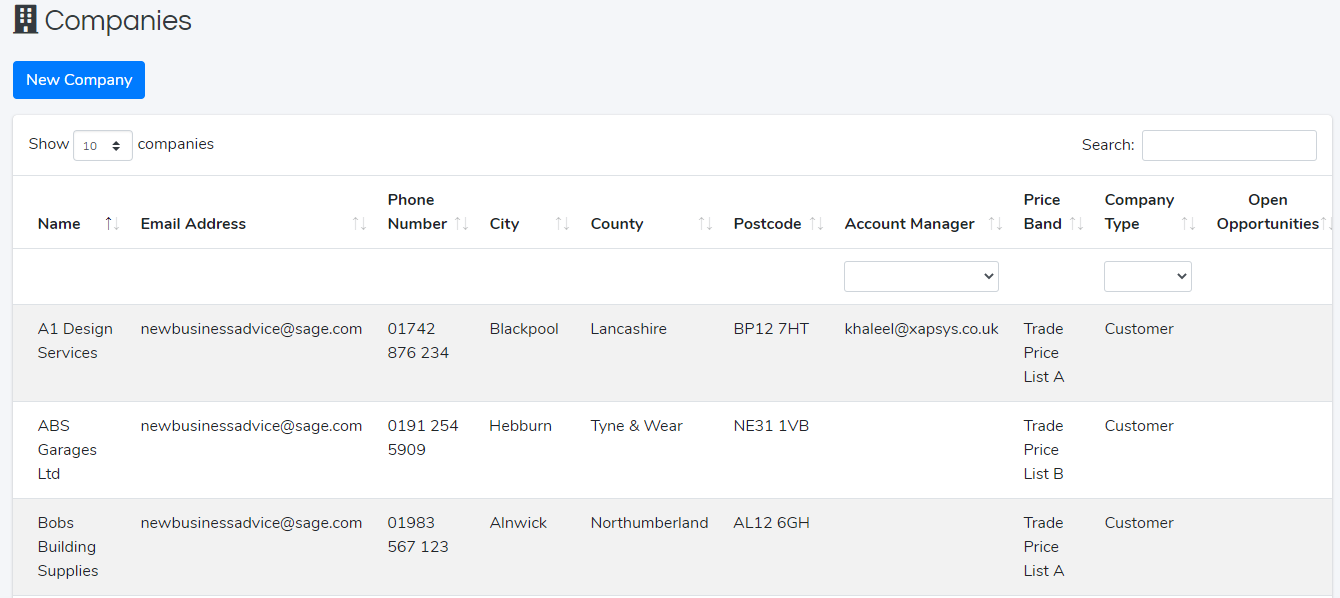
Viewing the Company List
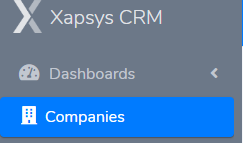
You can easily see the company list by clicking on the Companies section on the navigation bar.
The companies will show a table containing all the records that are currently in the ERP System.
You can easily see the Name of the company as well as further details such as their City, Price bands, Emails and so forth. You can only filter the companies based on Type as well as the account manager. You can also search quickly for records you are interested in by typing into the search bar.
The Company types are as follows
Customer:This will be the Sales ledger record in Sage 200, this will be clients that have placed a order with you.
Prospect:This will be possible clients that your team is currently working on. This will be converted to a Customer once an order is placed. (At this stage, the prospect is not in the ERP system as to only allow valid customers that have placed an order. This is to reduce the unnecessary data clogging up your system)
Supplier:(Planned feature to integrate with ERP System) this will be the Suppliers. This will hold the purchase ledger records of accounts that you have placed a purchase order against.
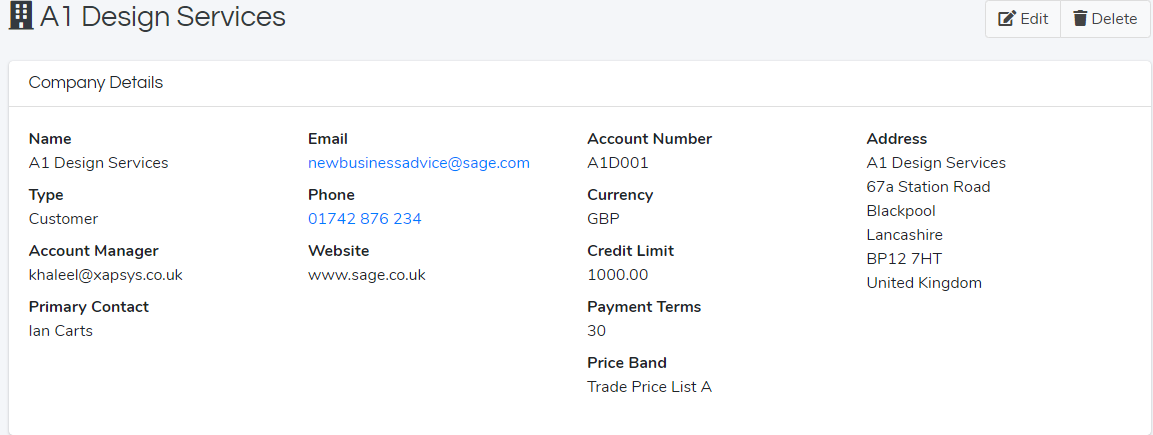
Viewing Company Details
You can view the company details easily by clicking the table row.
You can see a range of details quickly on that company without logging onto the ERP System.
You can see the Name, Type, Primary Contact, Email, Contact Details, Account Number, Credit Limit, Payment Terms (Days), Address and so forth.
You can also edit these details to what you see fit and this will update your ERP System. (See Editing a company)
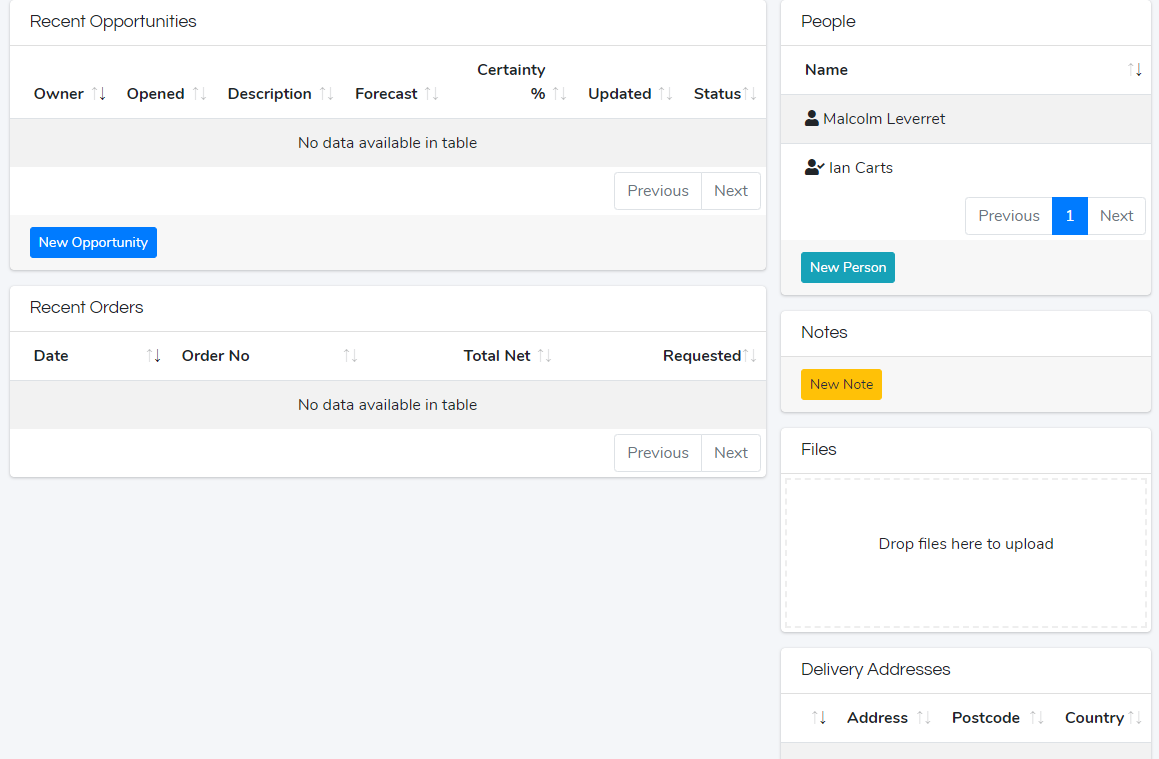
As well as the company details are you additional sections regarding the company.
It shows the recent opportunities tied to this company as well as recent Orders.
In addition to this it shows the people linked to that company (you can view further details by clicking on them). It also shows the notes on that company as well as any files regarding that company. Which can be updated at any time.
Additionally it shows the delivery address which holds address which is not considered to be the main address of the company but the addresses of warehouses and different sites.
Note
Additional Addresses are not synced to the ERP System. Only the invoice address will be present.
Adding a New Company
You can easily add a new company if you would like.
You can do this by clicking the company section then clicking New Company
Or you can click new at the top bar and click New Company
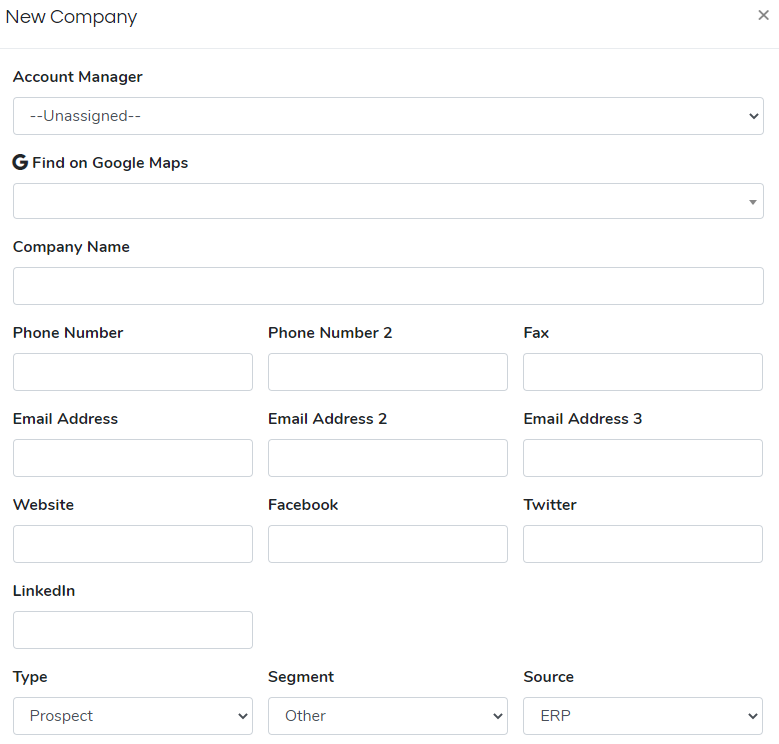
Doing so will make a form pop on the screen which you can input the relevant data
This is the company details section.
This will hold the contact details for the company which will (if relevant) be synced to the ERP System.
The account manager is the Sales team member which is responsible for this customer. Clicking the drop down will allow you to select the user.
An exciting feature of Xapsys CRM is the Find on Google maps. If a company can be found on google maps, type the company name and select the correct company. Once selected. It will prefill the data such as address and contact details. This will save a lot of time for your team as they will not to manually input data.
Note
The Additional Phone numbers (2) and Email addresses (2 and 3) and Social media links are not synced to Sage 200 but are in Sage 50 (if relevant)
The Name of the company is a required field.
The Company Type would be a Customer, Prospect or Supplier.
The Company Segment would determine which industry the Company is from. This could be from Computers industry. Company Source would be how the company was found. (This could be from email/ Phone etc. ERP is set for companies that have come directly from the ERP System.)
This is the financial section of adding a company.
The details will come from the ERP system and will sync back to ERP system if it’s a new company.
The tax rate of the company come from sage and you can set the rate by clicking the drop down and selecting the rate.
This is the same for the currency, you can select the dropdown and select the currency.
Warning
The Currency cannot be changed once it is in the ERP System.
The credit limit for a company can be set here as well as the payment terms.
The tax Registration number would be the Tax number for the Company you are creating.
The account number would be the Account Ref number in the Erp System.
Once the company has been created, this cannot be changed. This is a conditional required field. If the ERP System is Sage 200 or Sage 50. If the company type is a prospect, you do not need an account number at the time of creation (However, you will need one in order to place a quote/pro-forma/order against this company.) If the company type if Customer or a Supplier, you must input an Account Number.
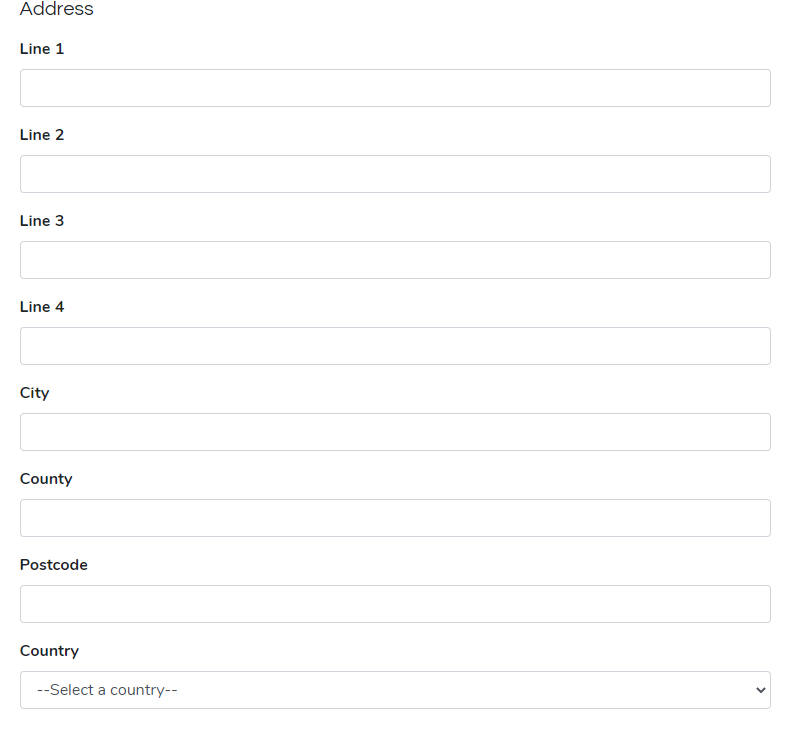
This section will be the company address section. This will hold the address which will be the invoice address.
The Lines Line 1, Postcode and country are required fields and must be inputted.
You can also select the country by clicking the dropdown and selecting the country. This list is derived from the ERP System.
Once ready click the Save button and it should save.
Editing a company
You can edit a company by viewing the company and clicking the edit button.
Warning
You cannot delete a company which is been synced to the ERP System.
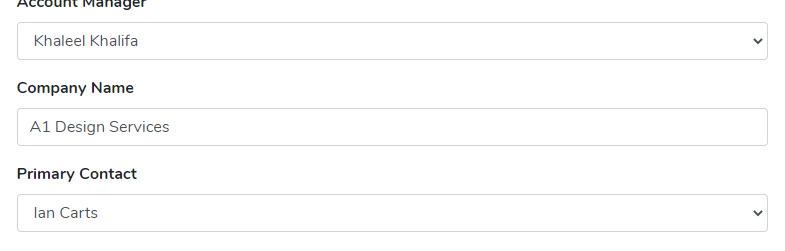
A form will show up which will be like the adding a new company but with a slight difference.
You can set the primary contact. This will be linked to the peoples section. Only the primary contacted is synced to the ERP system. This will be the main contact for the company.
People
This will hold all the contact details for people and what company they are responsible for.
View the people list
This section is shown by clicking the people section in the navigation bar.
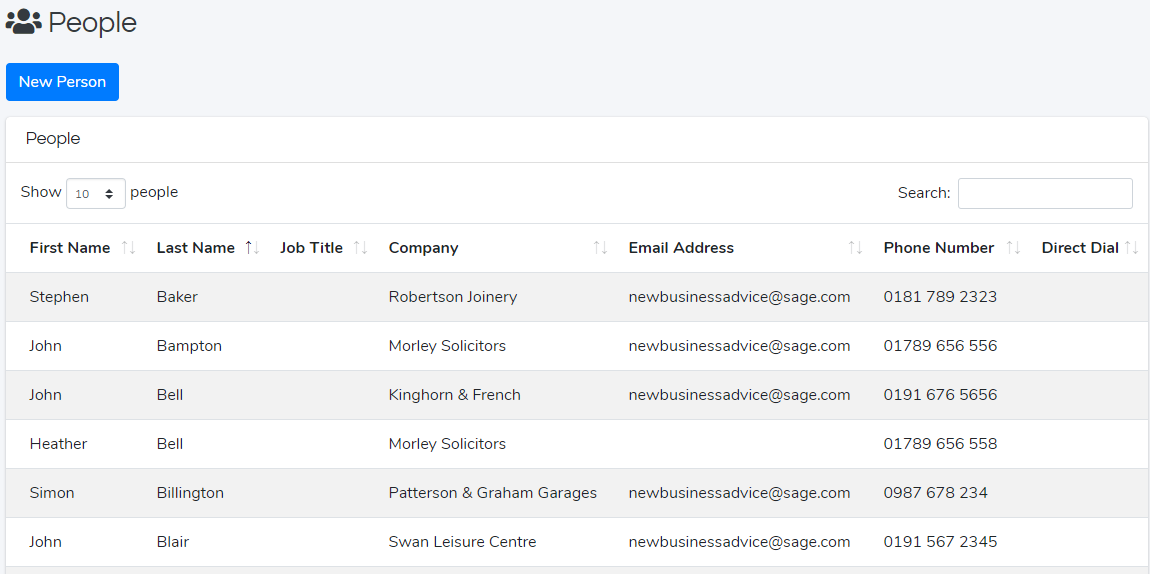
This will show a table of the people in Xapsys CRM.
This will show the Names of these people as well as the company they are linked to and the contact details. You can search for a person by typing into the search bar.
View a person
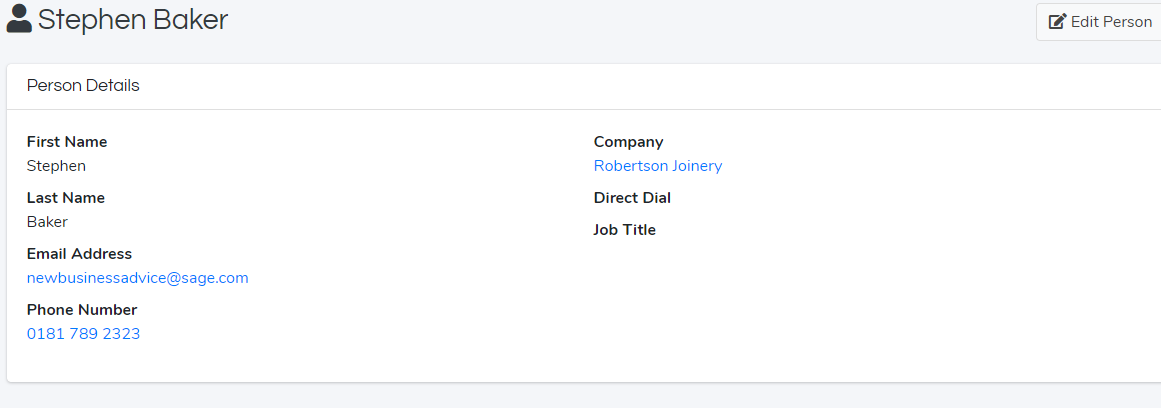
You can view a person by clicking the person.
This will show the details of the person in a different page
You can edit the person if needed (See Edit a Person)
Adding a Person
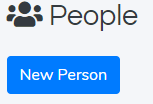
You can add a person by clicking new person in the people section
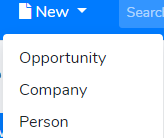
You can also do this by clicking New and new person.
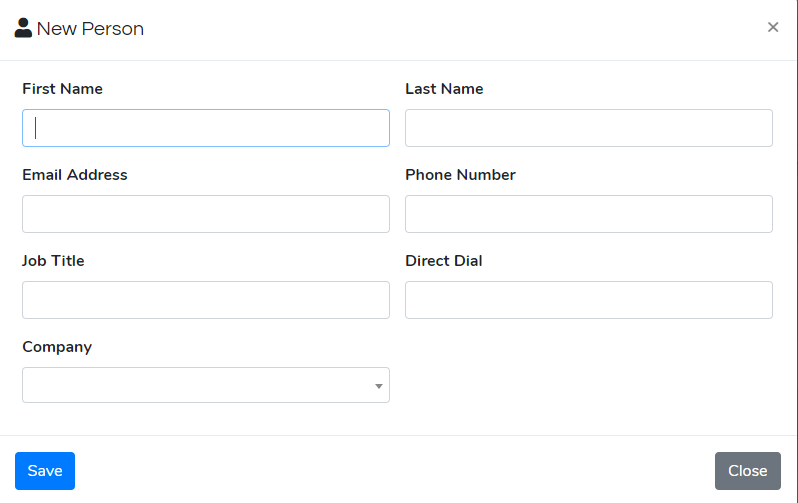
This will bring up a form which you can input the details
You can add the details of the person
The First name, last name and Company are required fields.
You can select the company by clicking the company and typing the company name and selecting the company.
Note
Only the primary contact of the cmpany will be synced across to the ERP System.
Editing a contact.
You can edit a contact by clicking the Edit button on the contact page.
This will show a form with the details which you can edit.
Opportunities
Opportunities are in a basic form a lead for the sales team, this would describe contact between a client and the team and what was discussed, and this will then evolve into an order when it is ready.
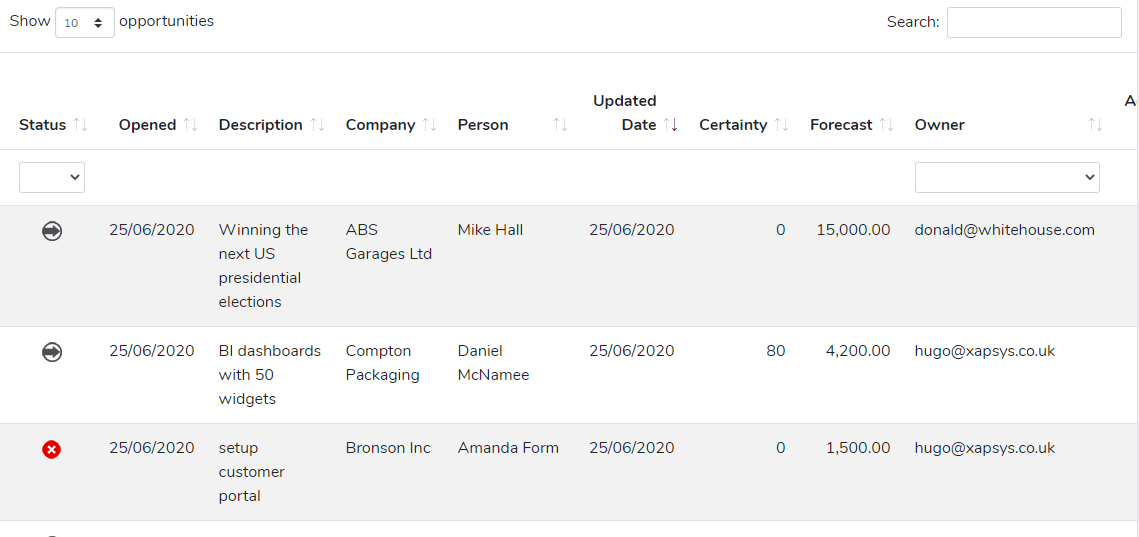
Viewing Opportunities
You can view the list of opportunities by clicking Opportunities on the navigation bar.
This will bring up a list of opportunities.
This will show the description of the opportunity with the company as well as the status and value of the potential order.
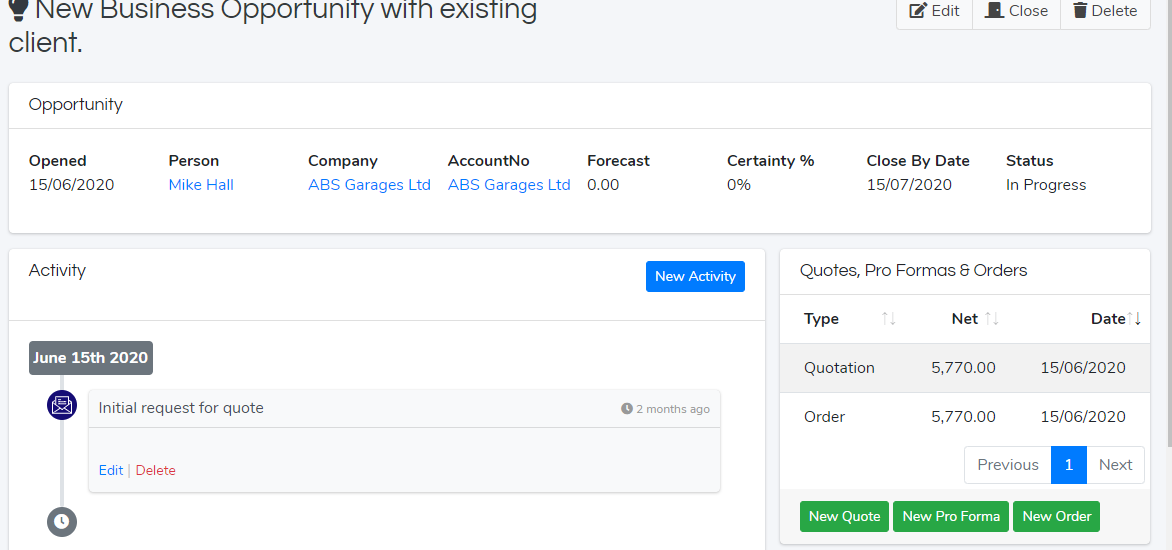
Viewing an Opportunity
You can view the opportunity by clicking on the relevant row.
This will redirect to the opportunity page.
This will show the details of the opportunity as well as the activities, this will consist of the actions taken for this and conversations between the team and the client.
On the right you can see the orders linked to this opportunity. You can easily make an order linked to this opportunity by clicking the new order button.
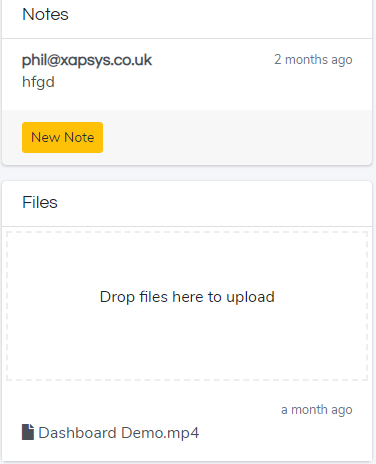
You can also add notes and files to these opportunities
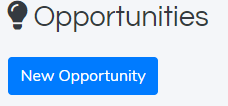
Creating a new Opportunity
You can create a new opportunity by clicking the new opportunity button.
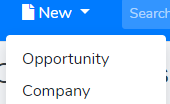
You can also click new > Opportunity
Once you click that a form will pop up that you can fill in.
You will give the opportunity a description then search for the company and add the person it is connected with.
You will also fill in the certainty of how likely you are to get this order and the forecast of the order.
Click save when you are ready.
In the activity part of the opportunity you can add new activity by clicking new activity button.
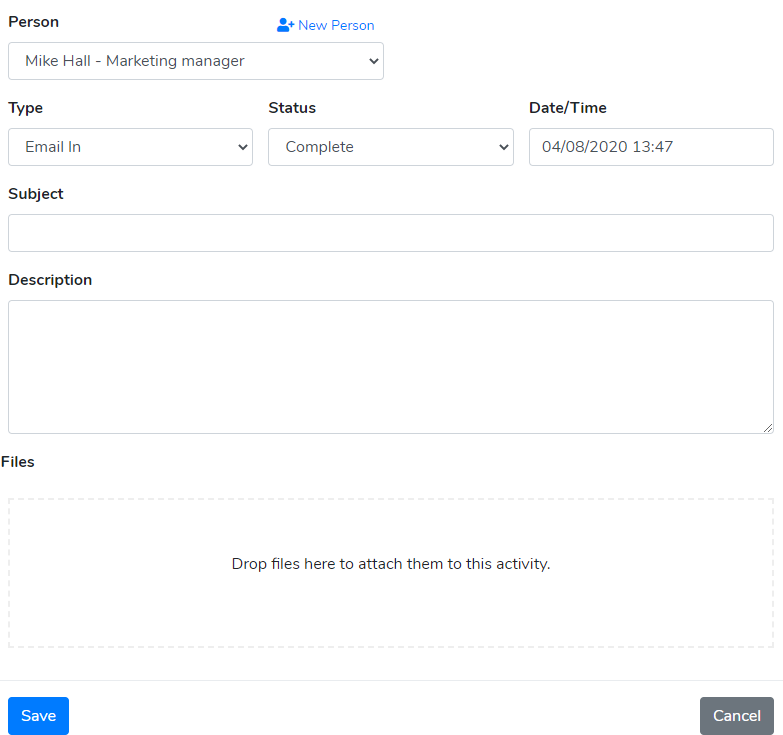
This will bring up another form to fill.
The person would be who was contacted. The type would be the type of activity done.
The status would be if it is in progress or complete (this is useful for future tasks)
You can then add a subject, description and add any files that are relevant if needed.
Clicking save will save that activity.
Sales
Section will cover sales section of Xapsys CRM. This will hold the quotations (this is not synced to the ERP System), the pro-formas and the orders.
Viewing the sales list
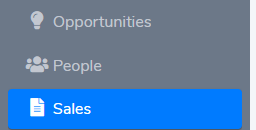
You can view the sales section by clicking the sales section in the navigation bar.
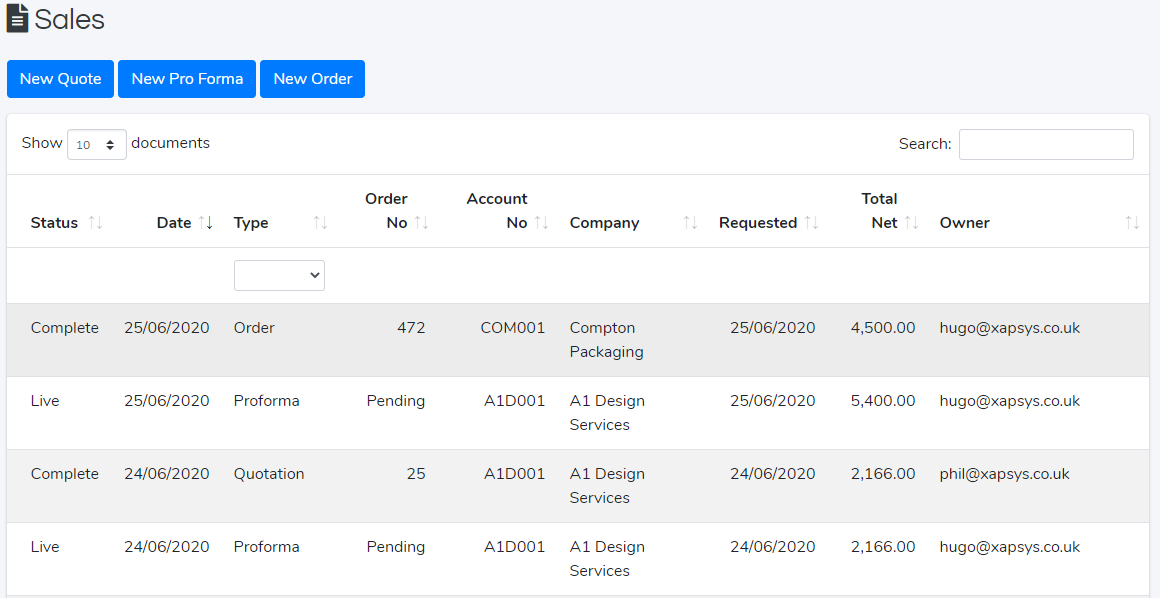
This will show a page with a table listing all the sales records. This will include quotations (This will not be synced to the ERP System), pro-formas and orders.
This shows a list of the sales records that exist within Xapsys CRM.
There are different status for these orders. If the order is Live and has no Order No (Pending), then it is currently in the queue to be imported into the ERP System. If it is live it is in the ERP System. If it is complete then it is in the ERP system and also complete.
Note
For Sage 50, if the order is in Sage 50, then it is set to complete in Xapsys CRM.
Viewing an Quotation/Pro-forma/Order
You can view it by clicking the relevant row.This will show an order page.
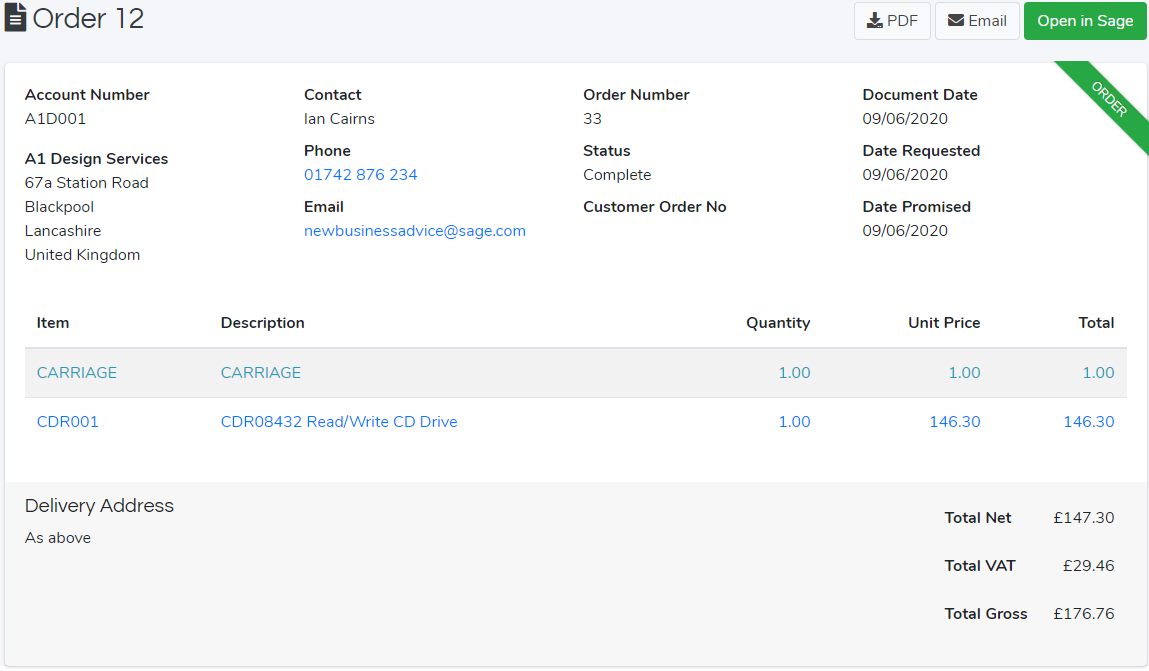
This will show the order details such as the selected company and the Address/Delivery address. The order status and number and details.As well as the order lines such as the item codes, the description the price for each price and the total values for these orders.
You can click the PDF button at the top to create a PDF version of this order ready to be sent off.
The email will create a pdf and send it off the client.
Open in sage will launch the Sage using Task launcher.
Adding a new order
You can add an order by clicking the Sales section and clicking new order / pro-forma / quotation
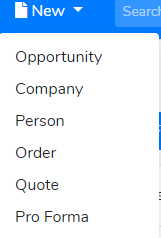
You can also click new > new Quote / Pro-forma / Order
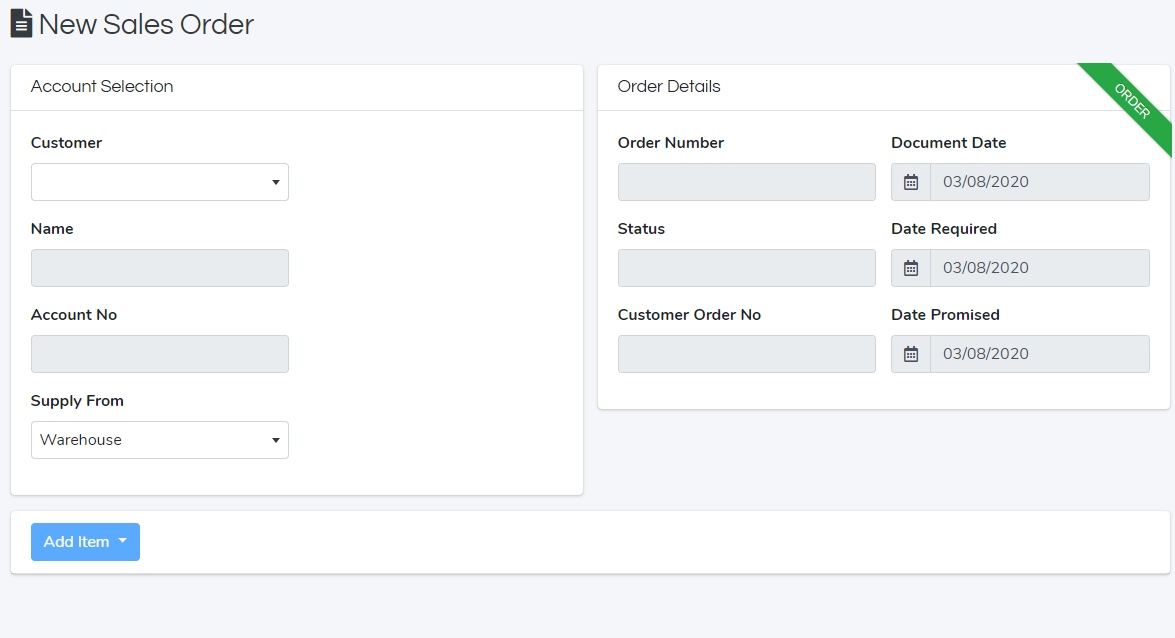
This will direct a new order page
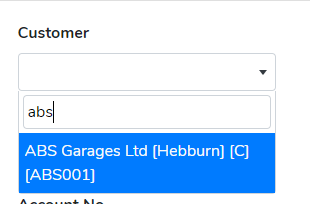
You can then select the company by clicking the customer drop down. Then you type in the company name and find the company.
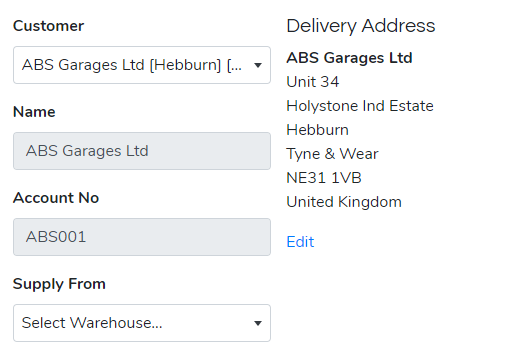
Selecting the customer will prefill the customer details
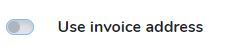
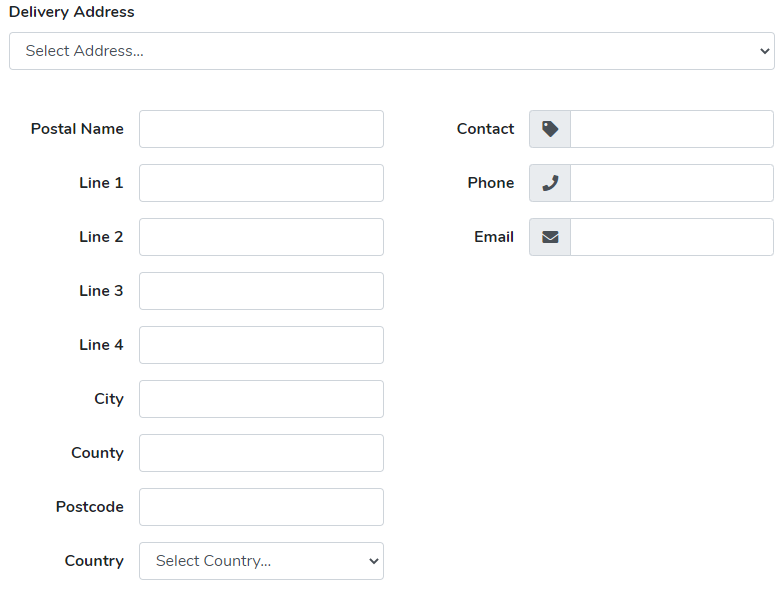
If you want to change the delivery address click edit and toggle the slider for Use invoice address.
You can then use fill the form for the new address.
Alternatively, if you have got an address saved for the company, you can use that by clicking the drop down and selecting that.
Clicking save will set this as the delivery address
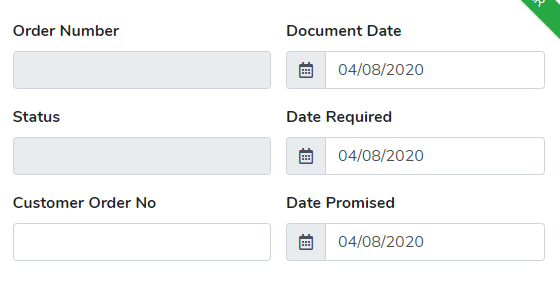
On the right side of the page you can see the dates of the order header and the customer order number.
You can select the date and change them as required.
Adding Order Lines
You can start adding order lines by clicking the add item button and click the type of item.
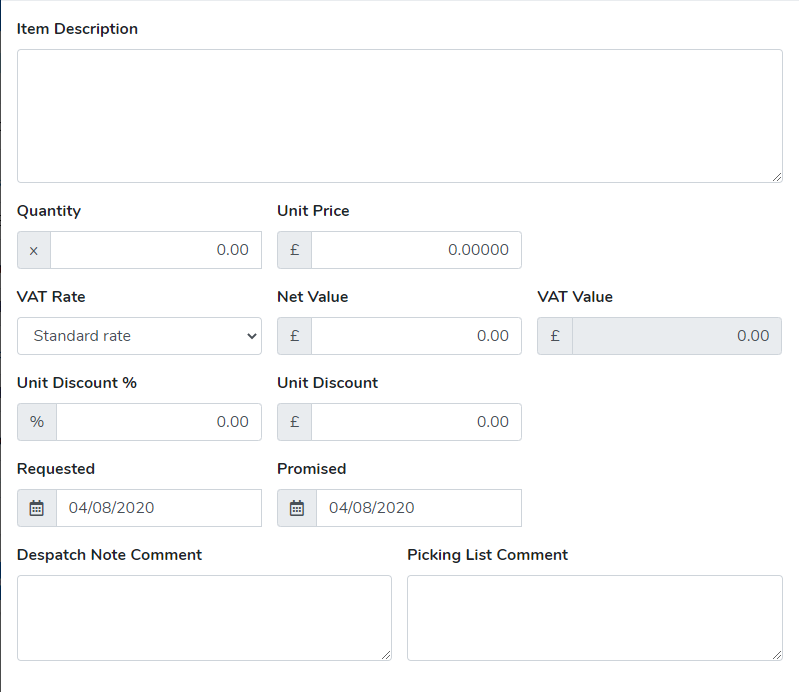
Standard Item
This is the line where the stock item would be used in the ERP system and would be used in another order again.
You can search for a stock item by code or name, click the relevant field and type to find the stock item.
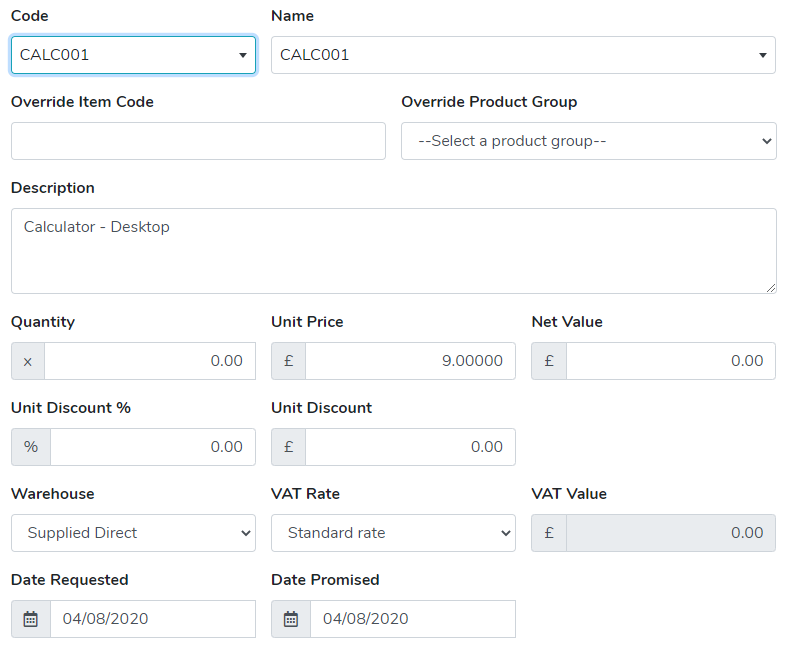
Clicking the item will prefill the data.
You can see it has filled in all the data. The only data left to fill in would be the Quantity and the unit price. This will auto calculate the net value (if you fill in the net value it will calculate the unit price for you.
A bespoke feature of Xapsys CRM is the ability to create stock items in the ERP system on the fly.
You will first select a stock item you are going to copy, then fill in the override fields (the override Stock Item code) with the desired item code and it will create it in the ERP system. This will take a copy of the first item code and create it with the item code you inputted. This is the same for the product group.
Filling in the Unit Discount will be calculated automatically too.
Click the warehouse if the selected warehouse is not the desired one.
This is the case for the VAT rate too.
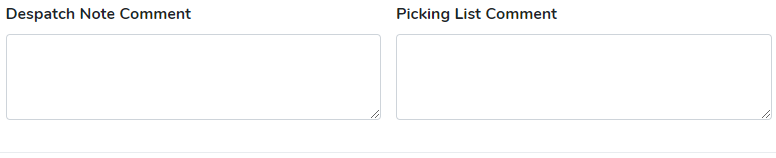
You can add comments to the despatch note or picking list if required.
Once ready click save.
This will input the line and have the order ready to input a new standard line. If that was the last one click close after the save.
Free Text Line
A Free text line is an item which is not present in the ERP system but still chargeable. These tend to be one off products.
You fill in the form like the standard item form. The only difference if that you would not input a stock item nor try to find one.
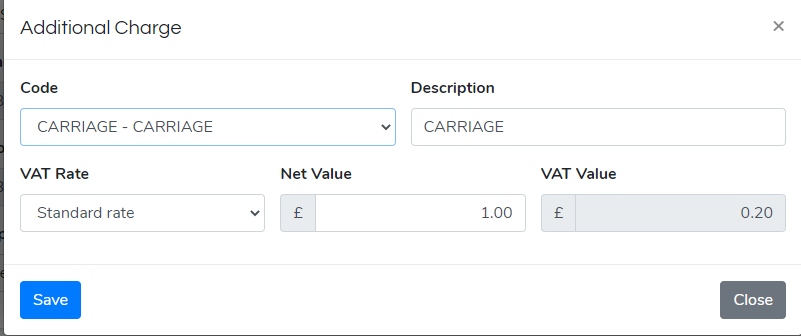
Additional Charge
Additional charges are charges that tend to be Carriage or delivery charges.
You can select the code by clicking the code and selecting the correct one.
You can set vat rate by selecting the dropdown.
Once ready click save.
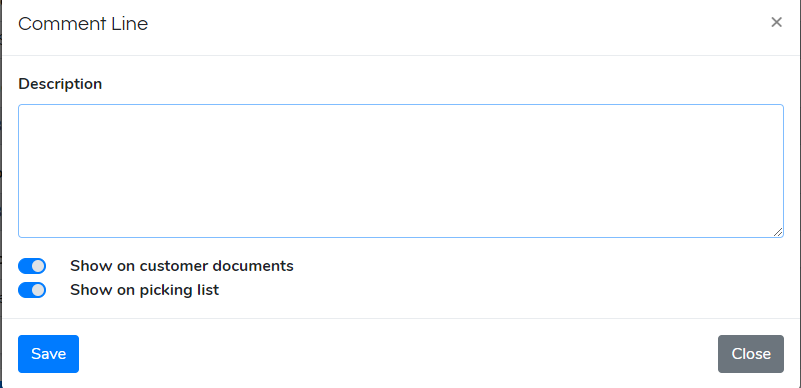
Comment line
You can add a comment line and clicking the show picking list and show on customer documents then clicking save.
Saving the order1
Once you are ready to save the order click the save button
You can also click save and PDF if you want a PDF, or click Save and Email if you want the pdf to be sent to the client.
Editing an Order
You can edit an order by clicking on the order when viewing the table.
Note
You cannot edit an order that’s already been synced to the ERP System. Clicking the order will display the order rather showing an editing page.
Cases
Cases are when there is something wrong with the product and the client has notified you of the issue.
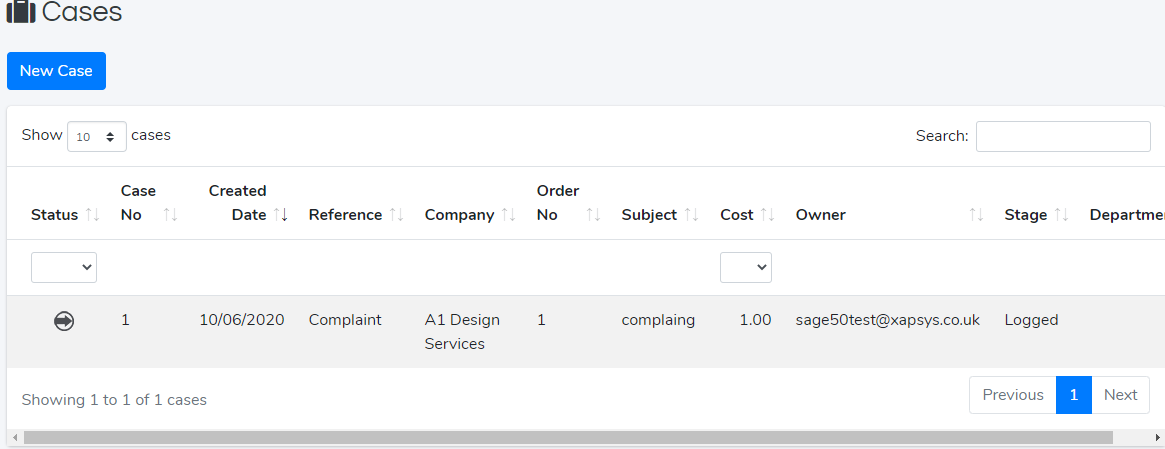
Viewing the cases
You can view the cases by clicking cases on the navigation bar.
This will show a list of cases.
This shows the type of case and the company it is linked to and the cost attached to the case.
Section Item 6.2
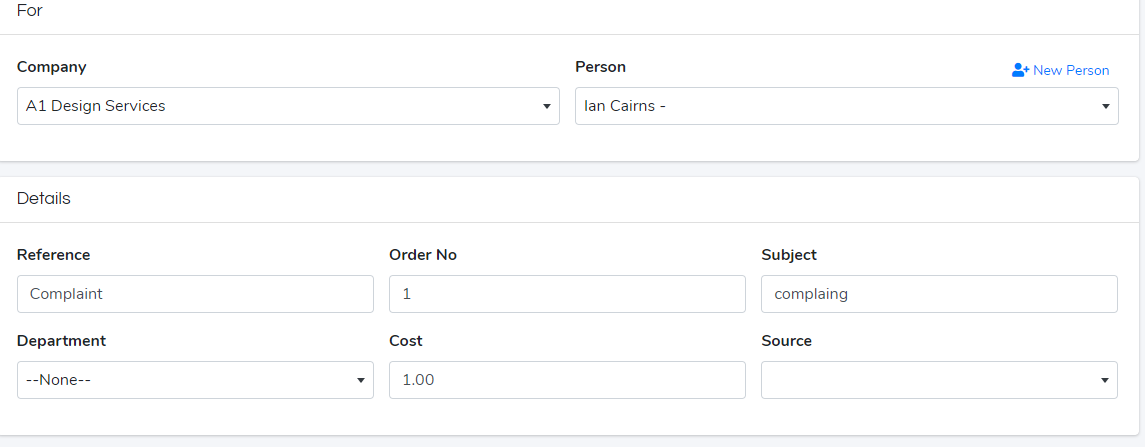
You can view a case by clicking on the row
You will then see the details of the case
You can see the company it is regarding as well as the person, you can also add the order no it is attached to as well as the department and cost of the case.
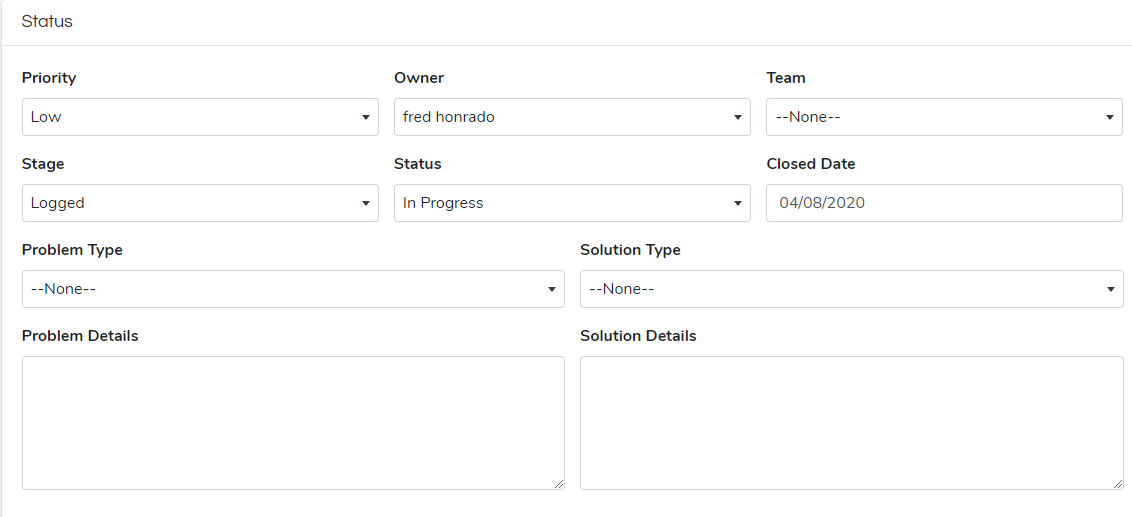
Below that is the status of the case. You can see the priority, the owner who handling the case and the team. And the Stage / Status of the case. You can also see the notes for the case.
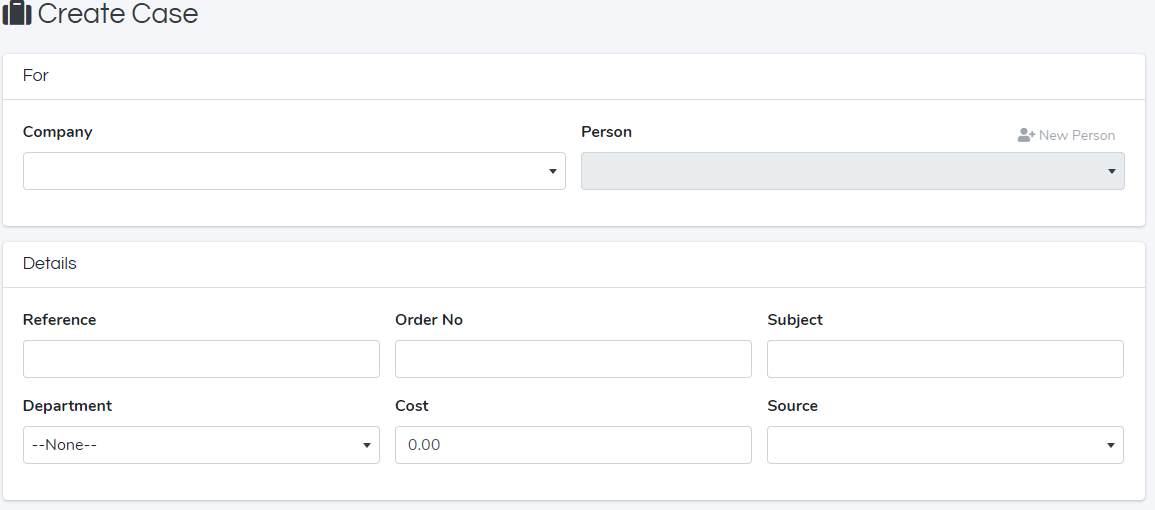
Creating a new case
You can create a new case by clicking the new case button
Doing so will bring up a page of cases
You will just need to fill in the relevant fields then click save.
Dashboard
Datasources
All data in the dashboard comes from at least one datasource. The built-in datasource provides access to the tenant’s CRM database via SQL Views which can be queried to create reports on Orders, Quotes, Opportunities etc. Tenants using Xero will also have access to a built-in Xero datasource which retrieves invoice data from the Xero API.
Additional datasources for external Microsoft SQL Server databases may be created by the end user.
Create a SQL Server Datasource
Go to Settings > Datasources > New Datasource
Enter a name of your choice
Select SQL Server as the datasource type
Enter a SQL Server connection string as shown below
Click Test to ensure the connection is working. If the connection is successful, click Save. The datasource is now ready to use.
Reports
Reports define the specific data to retrieve from a datasource. Reports using the built-in datasource, or an external SQL Server datasource are creating using standard SQL Server queries.
Create a Report
Go to Settings > Reports > New Report
Enter a name of your choice. It is recommended to use a descriptive name of the data that will be returned – e.g. “Sage 200 - Orders Between Dates - Sum” or “CRM – Opportunities Between Dates - List”.
Type your SQL query, or paste in an existing query. If your query contains parameters, make a note of these as it will be necessary to specify them when creating a widget in the next step.
Example Query:
SELECT SUM(TotalNetValue) FROM SOPOrderReturn WHERE DocumentDate >= @StartDate AND DocumentDate <= @EndDate
The query contains 2 parameters – @StartDate and @EndDate. It is not necessary to declare the parameters at the top of the query. In the next step we will bind these parameters to a date range filter so the values will be provided at run-time.
Dashboards, Widgets & Filters
A dashboard is a container for widgets and filters. Multiple dashboards may be created, and each dashboard may contain multiple widgets and filters.
Create a new dashboard, go to Dashboards > New Dashboard. A blank dashboard is created. Click Edit Dashboard to enter Edit Mode.
Dashboard Title – enter a title for your new dashboard. This will be displayed at the top of the page, and also in the left-hand menu. The ‘Show in Menu’ checkbox is enabled by default. You can disable this to hide the dashboard from the left-hand menu.
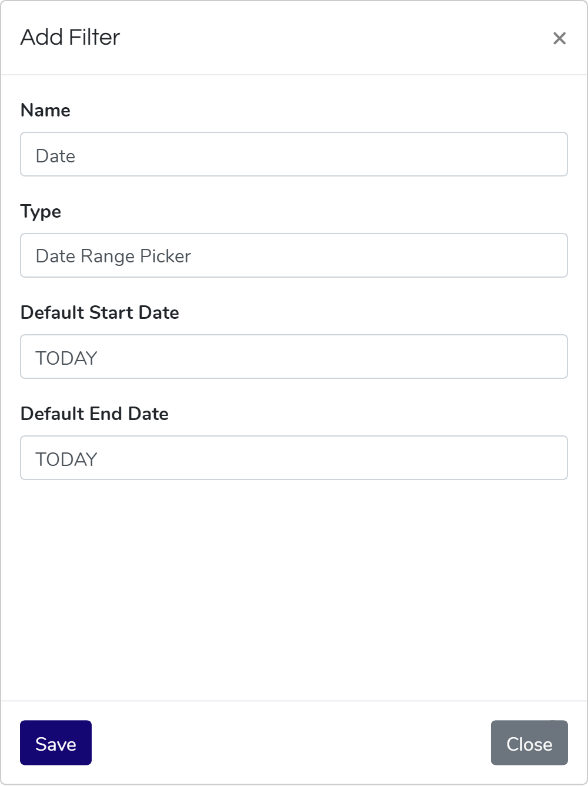
Create a Filter:
Click Add Filter
Enter a name, for example ‘Date’.
Select Date Range Picker as the filter type.
Enter TODAY for both Default Start Date and Default End Date. This will be used as the default values for the filter before the user selects their own date range.
Click Save
A new filter is created:
A widget is UI element which displays the data returned from a report. There are currently 3 types of widget available – Chart, Table and Info Box.
Chart
8 chart types are available – Line, Bar, Radar, Doughnut, Pie, Polar Area, Bubble and Scatter. The first column of the report will be used to generate the X-axis labels. Each subsequent column will create a series displayed on the chart.
Table
Table Widgets display table data from a report. The table will display columns in the order they are returned from the report. Numeric columns will automatically be aligned right. Each column may be sorted by clicking the column header, and rows can be filtered using the search box in the top-right of the widget. Table widgets also feature an Export to Excel button.
Info Box
Info Box Widgets are designed to display a scalar value from a report, for example a sum of order values.
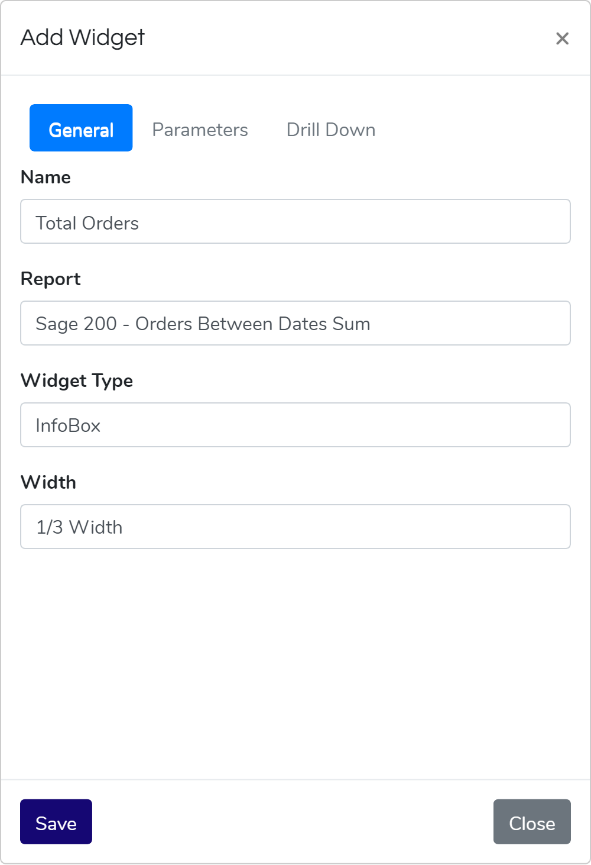
Create a Widget
Click Add Widget
Enter a name of your choice
Select the report you want to display
Set the width of the widget
If the selected report contains parameters, we must specify these in the Parameters tab.
Click Add Parameter
Enter the parameter name exactly as it appears in the report query
Select the filter property to bind to
Repeat these steps for each parameter in the report
Click Save
The widget’s report parameters are now bound to the date range filter. The widget values will change whenever the date range filter is changed.
Now is a good time to save the dashboard. Click Save Dashboard at the bottom-left of the page.